

Keeping your boat in one spot isn’t easy. It’s all about precise calculations against a constantly changing target. The water level changes while you sleep, making it a challenge.
The tidal swing can make or break your night. You need to know the chart depth, the tidal range, and your boat’s draft. This helps find the true depth at high water. If you get this wrong, you might drag your gear or get it stuck.
Experienced sailors, like those in the rocky Mediterranean or coral Tuamotus, understand this. They adjust their gear for the full range of motion. A small weight on the trip line helps keep the buoy from moving too much at low tide.
Your scope—the ratio of rode length to depth—is not fixed. It changes with the tide. A good scope calculator is key to planning for the deepest water. It ensures your anchor stays put.
Even with the best planning, surprises can happen. A slack line or a snag can appear in the dark. Knowing these basics is your first line of defense against a midnight wake-up call.
Choosing Scope for Tide & Forecast Gusts
The right anchor scope is your first line of defense against dragging. But, it’s not just about your depth sounder. You need to look at tide tables and weather forecasts too. Getting it wrong can make your night stressful.
First, think about the tide. Your depth at low tide is your starting point. If you calculate scope based on that, what happens when the tide rises? A 5:1 scope at low tide can shrink to a dangerous 3:1 at high tide. This reduces the anchor’s holding angle and increases load on the rode. Always use your maximum predicted depth during your stay for scope calculations.
Next, consider the wind. The forecast might say 10 knots, but gusts can be double that. Gusts create sudden, high loads. A scope that’s fine for steady wind can fail when a gust hits. For gusty conditions, add an extra safety margin. Many cruisers add 1 to 2 to their scope ratio when gusts are in the forecast.
Dick, a seasoned sailor, stresses a key technique: use plenty of scope on the initial set. The goal is for the anchor to dig in and hold with minimal dragging. Dragging an anchor, hoping it finds a hold, is a recipe for fouling. It can snag on debris, weed, or rock. A firm, first-time set is safer and protects the seabed.
Choosing the right seabed is part of smart scope planning. PhilipH2 advises avoiding rocky bottoms. They once spent hours freeing a chain fouled on an unseen rock. It’s better to select a secure anchorage with good holding ground from the start than to fight a fouled anchor later.

Use the following table as a guideline for minimum scope under different conditions. Remember, these are starting points. When in doubt, let out more rode.
| Condition | Description | Minimum Scope Ratio |
|---|---|---|
| Calm, Protected, No Tide | Light winds in a well-sheltered cove with minimal tidal change. | 5:1 |
| Moderate Winds, Normal Tidal Range | Steady winds 10-15 knots with a typical 3-6 foot tide. | 7:1 |
| Strong Gusts or Large Tidal Range | Forecast gusts over 25 knots or tidal range greater than 8 feet. | 10:1 |
| Storm Conditions or Unknown Bottom | Heavy weather anticipated or bottom composition is unverified. | As much as safely possible |
Choosing the correct scope is your primary safety measure. It gives your anchor the best chance to hold through tidal shifts and sudden squalls. But, even perfect scope isn’t a guarantee. Your final layer of defense is a properly set anchor alarm. This is why these alarms are non-negotiable when tides and winds are variables.
Swing Circles with Other Boats
The space your boat will occupy when the tide turns is defined by your scope, a figure best determined with a scope calculator. This predictable arc, known as your swing circle, is the area you need to claim and defend in a crowded anchorage. Understanding it is half physics and half neighborly courtesy.
Your swing radius is not a mystery. It’s calculated from your anchor point using the length of rode you’ve let out. In simple terms, your boat can swing in a circle with a radius roughly equal to the rode length plus the boat’s length. A scope calculator takes the guesswork out, providing an accurate swing radius based on water depth and your chosen scope ratio.
This table shows how depth and scope directly affect your swing, highlighting why calculation is key:
| Depth (ft) | Scope Ratio | Rode Length (ft) | Approx. Swing Radius (ft)* |
|---|---|---|---|
| 10 | 5:1 | 50 | 60 |
| 15 | 7:1 | 105 | 120 |
| 20 | 5:1 | 100 | 110 |
| 8 | 8:1 | 64 | 74 |
*Swing Radius assumes a 40-foot vessel. Always add your boat’s length for a true safety margin.
The social challenge begins when you apply this math to everyone around you. Before dropping your hook, visually estimate the depth and likely scope of neighboring boats. Mentally map their swing circles, considering their scope or hull length. Your goal is to position yourself so your circles never intersect, even after a complete 180-degree wind or tide shift.
To solve this spatial puzzle, some sailors use a marker buoy. A trip line buoy attached to the crown of the anchor provides a clear visual reference on the surface. One sailor, Gavin.French, loved this method, saying it gave him instant clarity on his swing diameter in tight spaces. It’s a powerful tool for personal awareness.
Yet, anchor buoys are controversial in crowded areas. Another sailor, bbalme, expressed a strong dislike for them. The main risk is the buoy line tangling in the propeller of a passing dinghy or even your own vessel during retrieval. In a busy anchorage with boats coming and going, a small floating buoy can become a hidden hazard.
Whether you use a buoy or rely on mental math, the principle is the same: know your space and respect others’. When in doubt, use a scope calculator before anchoring and communicate with neighbors if you’re unsure. Good spatial awareness is the ultimate anchor etiquette.
Alarm Setup & Snubbers
Mastering the tidal swing and weathering gusts means equipping your boat with both a shock-absorbing snubber and a vigilant electronic sentry. These two systems work in tandem. One handles the physical forces on your gear, while the other monitors your position for any dangerous movement.
Your primary defense against jerking loads is the snubber. This is a heavy-duty line or bridle attached to your anchor chain. It takes the strain off the windlass and absorbs shock. This protects your deck equipment from sudden loads caused by wind or wave action.
To rig it, let out enough chain so the snubber line, not the chain, is taking the load. Use a robust hook or chain grabber to attach it securely. The snubber should lead from a strong bow cleat or samson post. Ensure it has enough length to stretch comfortably without going taut.
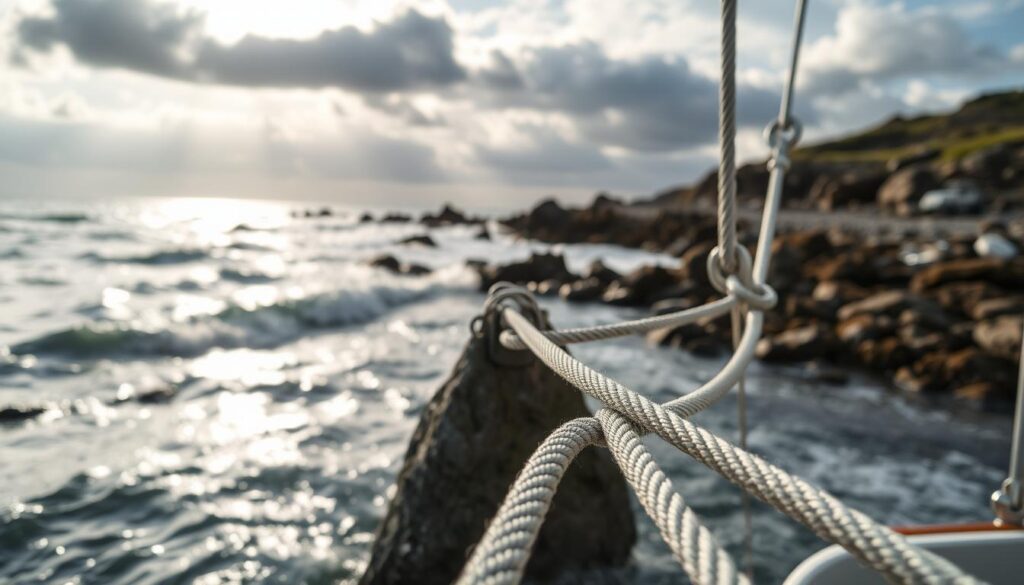
Beyond shock absorption, a stout snubber is a powerful troubleshooting tool. If you suspect your anchor is fouled, you can use it to apply controlled force from different angles. Attach a non-stretchy snubber or a strong line to the chain. Then, use your engine to power gently in various directions.
This technique works the anchor free by pulling from points a windlass cannot. It is far safer for your gear than just trying to power straight back. Always apply force gradually and have a crew member watch the rode for signs of movement.
For prevention, consider a trip line and buoy in rocky or debris-filled bottoms. This gives you a direct pull on the crown to free a fouled anchor.
Configuring Your Anchor Alarm
Your electronic watchman is the anchor alarm. Set it immediately after anchoring. You can use a dedicated GPS unit or a reliable smartphone app. The core principle is simple: you set a safe radius, and an alarm sounds if you drift beyond it.
Follow these steps for a reliable setup:
- Set the Anchor Position: Press “Set” or “Drop Anchor” on your device once you are satisfied with your set.
- Calculate Your Drag Radius: This is the most critical step. Your radius must account for your boat’s normal movement. Include your boat’s length, the scope of your rode, and the expected tidal swing.
- Factor in Swinging Room: Add extra distance for wind-induced sheering. A good starting point is a radius equal to 20-30% of your total scope length.
- Test the Alarm: Drift gently with the wind or current to ensure the alarm triggers correctly before you retire for the night.
Setting the radius too small causes constant false alarms. Setting it too large might not alert you to a slow, dangerous drag. The goal is to distinguish between normal swinging and genuine anchor drag. A well-set alarm provides genuine peace of mind, allowing you to rest while it stands guard.
Night Checks & Troubleshooting
Your anchoring setup is only as good as your vigilance. A consistent night check routine builds confidence. Take visual bearings on fixed shore objects. Use your chartplotter’s GPS circle or dedicated anchor alarms to monitor position. Properly calibrate these anchor alarms for your swing radius to avoid false alerts.
When the alarm sounds or you feel uneasy, diagnose the issue. A common midnight surprise is a fouled anchor. Experienced sailors like Dick recommend first letting out lots of scope and motoring in the opposite direction to pull the anchor free. If that fails, a short, sharp pull with a snubber from a different angle can work. Gavin.French once freed his Spade anchor from a giant mooring chain by lifting it slightly, snubbing a pre-attached trip line, and letting the chain go slack to flip the anchor clear.
If you suspect dragging, act fast. Haul the anchor to clear any debris and reset it in a secure spot. Log your position only after you are certain you are holding. For a more serious grounding, kedging off is a reliable recovery method. Set a kedge anchor in deep water and use a winch to pull your boat free.
Mastering these checks and techniques turns anxiety into action. They empower you to solve problems and enjoy truly restful nights on the hook. For a deeper dive into these scenarios, review this comprehensive guide to anchoring problems.